Shopify may be easier than other website builders, but that doesn’t exactly make it easy. Optimizing a site always takes some effort, but that goes double with ecommerce, where you have to align your sales strategies with your design choices. Even if you’ve built a Shopify website before, you may have missed some opportunities you never knew existed.
Whether or not it’s your first time making a Shopify website, it helps to start with an actionable battle plan. Below, we outline the nine steps to building a Shopify website for your ecommerce business.
1. Familiarize yourself with the Shopify website builder
First things first, you have to make sure Shopify is the right choice for you. As we mentioned in our ultimate guide to website builders, it’s best to do your own research before settling on a decision.
Explore the Shopify site, the Shopify theme library, and the Shopify app store to get a general idea of what’s involved with making a Shopify site. While you’re there, make a list of any themes and apps that catch your eye for later—don’t forget their prices, too, so you can estimate your Shopify website cost.
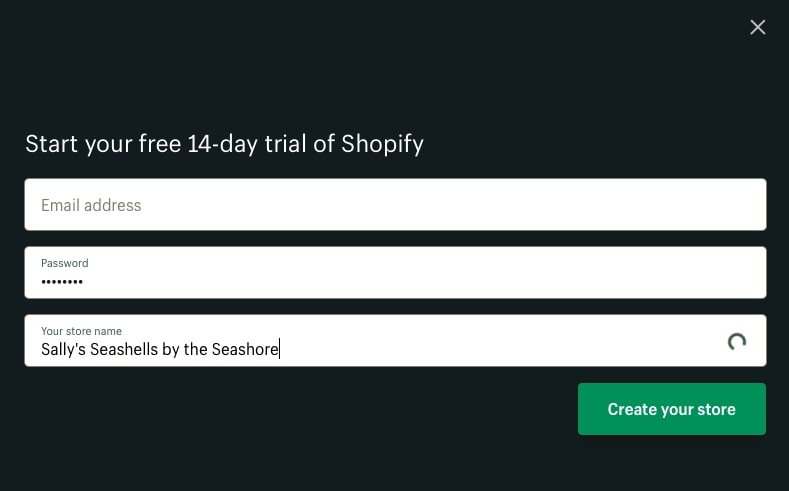
Luckily, Shopify offers a 14-day free trial (no credit card) so you can tell for sure whether or not you like it. Take it for a “test drive,” and pay particular attention to its usability and navigation—can you do everything you want to do and find everything you want to find? Just be aware that if you do not put money down after 14 days, you will lose all the progress you’ve made, so only start your trial when you can commit to a decision within two weeks.
2. Plan your website
Once you get a feel for how the Shopify website builder works, you can use that as a background for when you plan out your website. Shopify has more restrictions than, for example, making a website on Wix. That’s why it’s best to familiarize yourself with its system beforehand, so you don’t waste time planning anything Shopify won’t let you integrate.
It’s crucial at this time to know your sales strategies and have a good idea about your digital marketing campaigns—some of these require special apps or work better with certain themes. For example, if upselling is important to your business model, you’ll want an app that adds the Frequently Bought Together feature. The sooner you know what you need, the better—you don’t want to find out too late that you can’t implement something.
You may also need other media, such as personalized photography or branding assets like a logo. The cost of these is variable and while some assets are really important—like your logo—others are completely optional—like videos or motion graphics. But if you’d like to include them in your site, it’s best to start planning for them early.
If you’re worried about money, now is a good time to calculate your Shopify website cost. All of Shopify’s paid themes and apps list their prices outright, so you can make an accurate budget of one-time costs and recurring costs before actually spending anything. Of course, a large portion of your budget depends on your Shopify pricing plan, which brings us to Step 3…
3. Choose your pricing plan and sign up
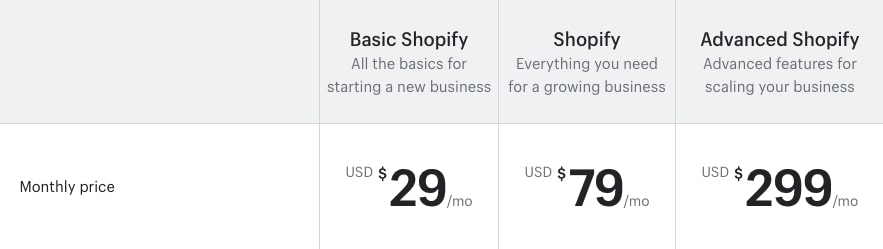
Now’s the time to cross the threshold. Shopify offers three main pricing plans to accommodate small, medium and large businesses—although technically they offer five plans, if you include Shopify Plus for enterprises and Shopify Lite for adding products to existing sites or blogs. Most people will be interested in the main three:
- Basic Shopify — $29/month
- Shopify — $79/month
- Advanced Shopify — $299/month
Each plan, even the basic, includes all the essentials: unlimited product range, access to sales channels, 24/7 support, SSL certificate, fraud analysis, Shopify Point of Sale Lite, gift cards, discount codes and abandoned cart recovery. In terms of differences, Basic Shopify does not include professional reports, and only Advanced Shopify can calculate third-party shipping rates at checkout. Also the number of staff accounts and synced storage locations increases with higher-tier plans.
So what’s the real difference between Shopify plans? Shipping and transaction fees. The percentage amount that Shopify takes per sale gets lower with higher-tier plans—the less you pay upfront, the more you pay at each sale. Shopify also charges a “penalty” fee if you use a third-party gateway instead of their native Shopify Payments, and that penalty fee also decreases at higher tiers.
|
Basic Shopify |
Shopify |
Advanced Shopify |
|
|
Online credit card rates |
2.9% (+ 30¢) |
2.6% (+ 30¢) |
2.4% (+ 30¢) |
|
In-person credit card rates |
2.7% (+ 0¢) |
2.5% (+ 0¢) |
2.4% (+ 0¢) |
|
Penalty for not using Shopify Payments |
2.0% |
1.0% |
0.5% |
As you can see, your pricing plan should depend on your sales volume—how much you sell in a given time period. If your sales volume is high enough, you can conceivably save money by buying a more expensive plan, considering what you’d save per sale. Again, that’s why it’s so important to plan out your sales strategies beforehand.
It’s also worth mentioning that higher-tier plans get a greater discount on shipping when using DHL Express, UPS or USPS. Depending on how heavy your products are and how far away your main customers live, this could also impact which plan is best.
|
Basic Shopify |
Shopify |
Advanced Shopify |
|
|
Shipping discount |
up to 64% |
up to 72% |
up to 74% |
On the plus side, you can always upgrade or downgrade your plan at any time, so if you err in your budget, you can always correct it for the next month.
4. Pick your theme
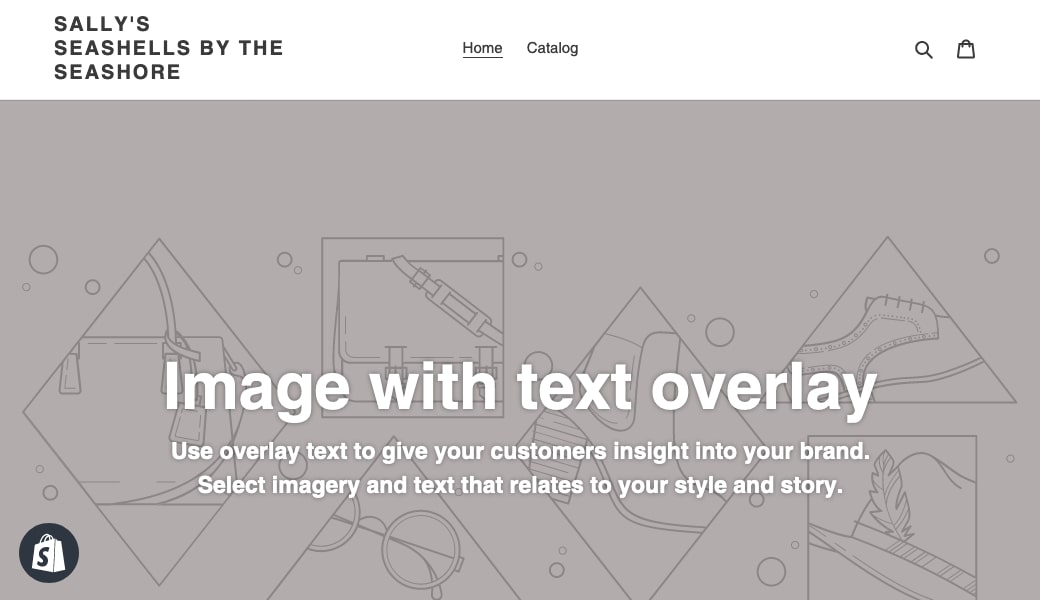
Once you actually begin using the Shopify website builder, your first task should be to finalize your theme. Choosing your theme is vital for all website builders, but it’s especially important with Shopify—Shopify doesn’t let you change much about your appearance and layout, so which theme you choose determines a lot of your design decisions.
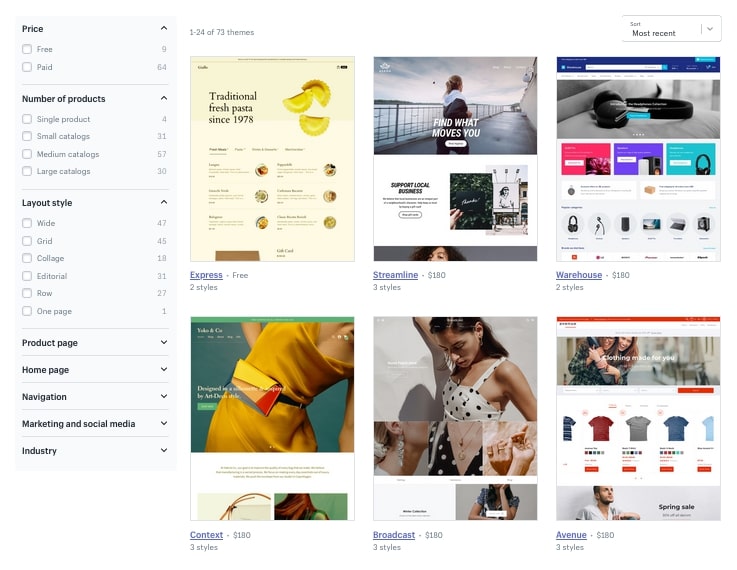
You’ll still be able to customize your images and text no matter which theme you choose, but where those images go and what fonts your text uses are fixed by theme. Definitely take advantage of the search filters at the left side of the theme store: you can search for only themes with the features you want, or use ones built specifically for your industry.
Of course, all Shopify themes suffer from the same drawback: stores run a high risk of looking generic. On top of that, other stores can use the same exact theme as you, making it difficult to set yourself apart, especially if you’re using a free theme.
One workaround to get a unique and personalized Shopify site is to hire a 99designs designer to customize a theme specifically to fit your needs. We even have designers who specialize in Shopify in particular—here are our top 9 Shopify designers.
5. Install your apps
Next, you want to install all your apps so they’re in place when you begin customizing your site. You can find everything you need at the Shopify app store, and if you already planned out which ones you need, this step should be a breeze.
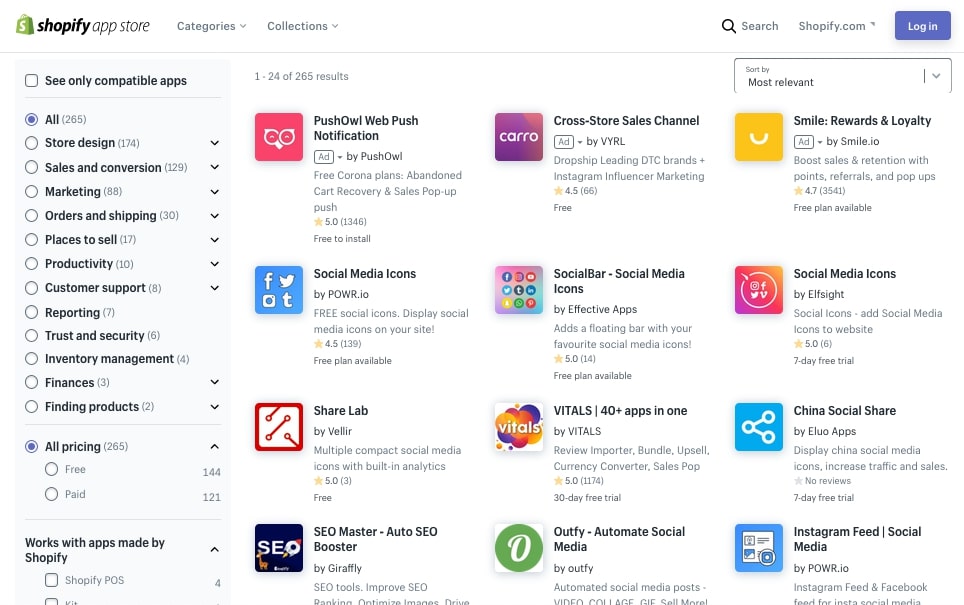
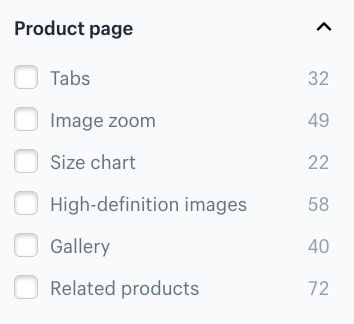
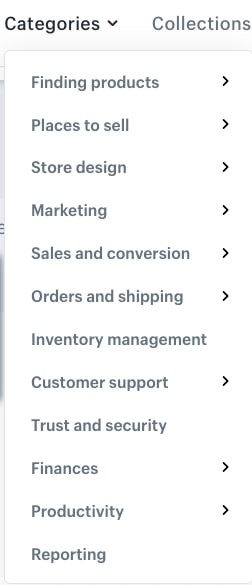
Just like with the theme store, you want to take full advantage of the filters for more efficient searching. For apps, your best bet is to search by category—design apps, marketing apps, shipping apps, etc.
And don’t worry about getting all your apps at once—you can always come back and add new ones or replace old ones later. Knowing which apps to use can give you a head-start at the beginning when you launch, but if you miss something or make a mistake you can correct it at any time.
6. Personalize your store
Finally, we come to the big step: personalizing your Shopify website to make it your own. As we mentioned before, Shopify makes this process easy and convenient—it’s more or less filling in the blanks after choosing your theme and apps.
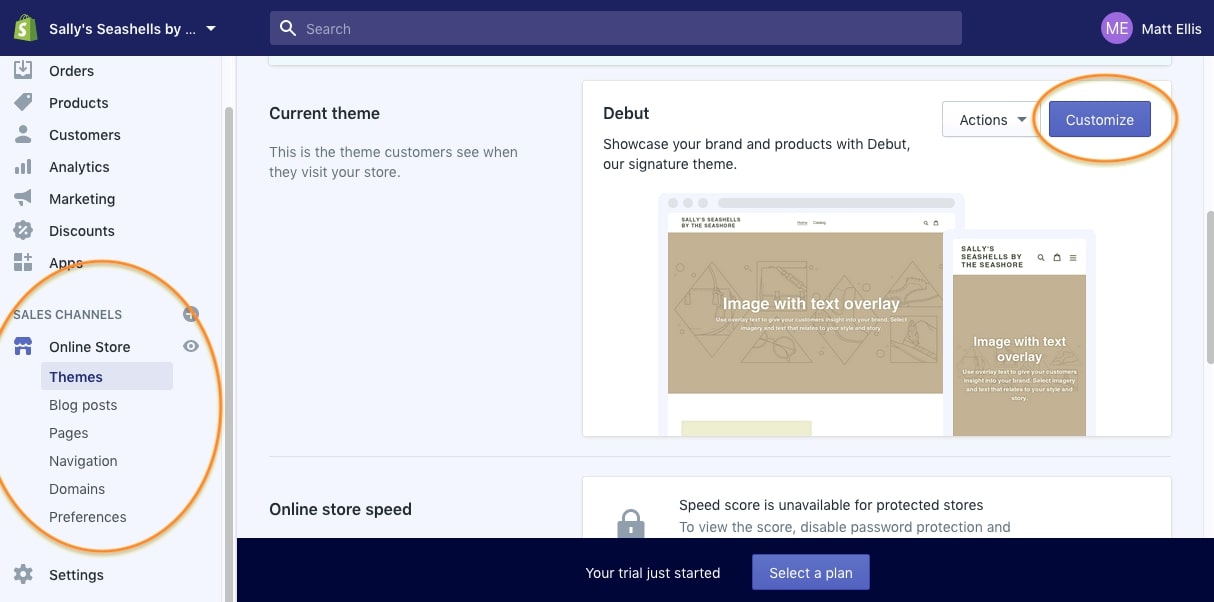
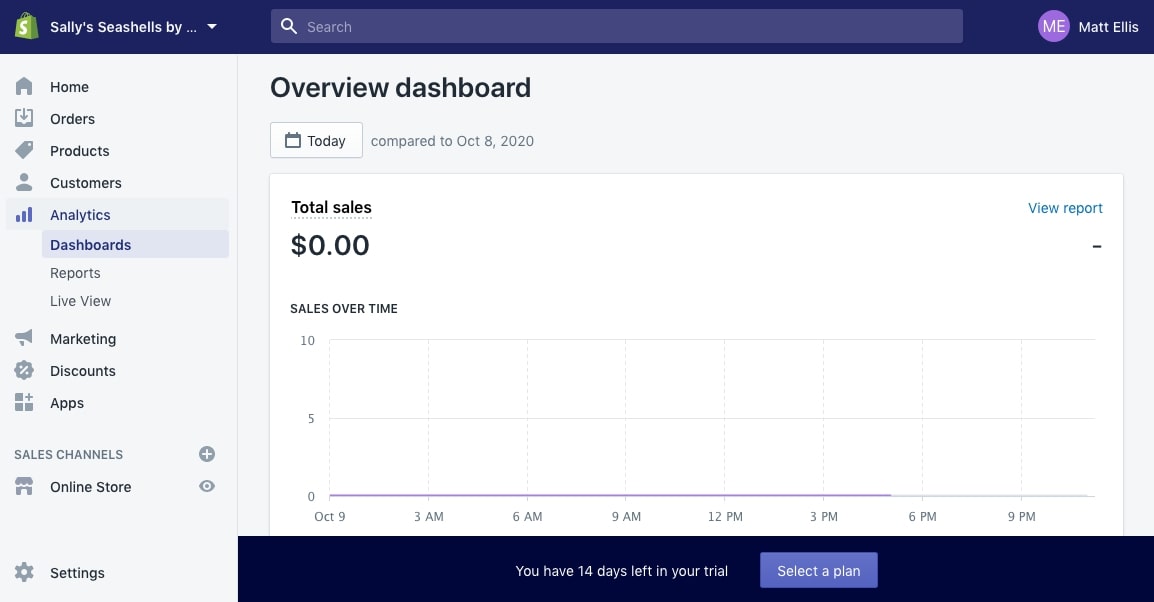
Most of the customization options can be found in Sales Channels > Online Store in the left navigation menu. Each of these options (Themes, Pages, Domains, etc.) offers a new set of customizations options, so we recommend going down the list one-by-one.
Editing your Theme is the big one, where you can personalize your homepage. Click on Theme on the left and then on the Customize button to bring up the editor.
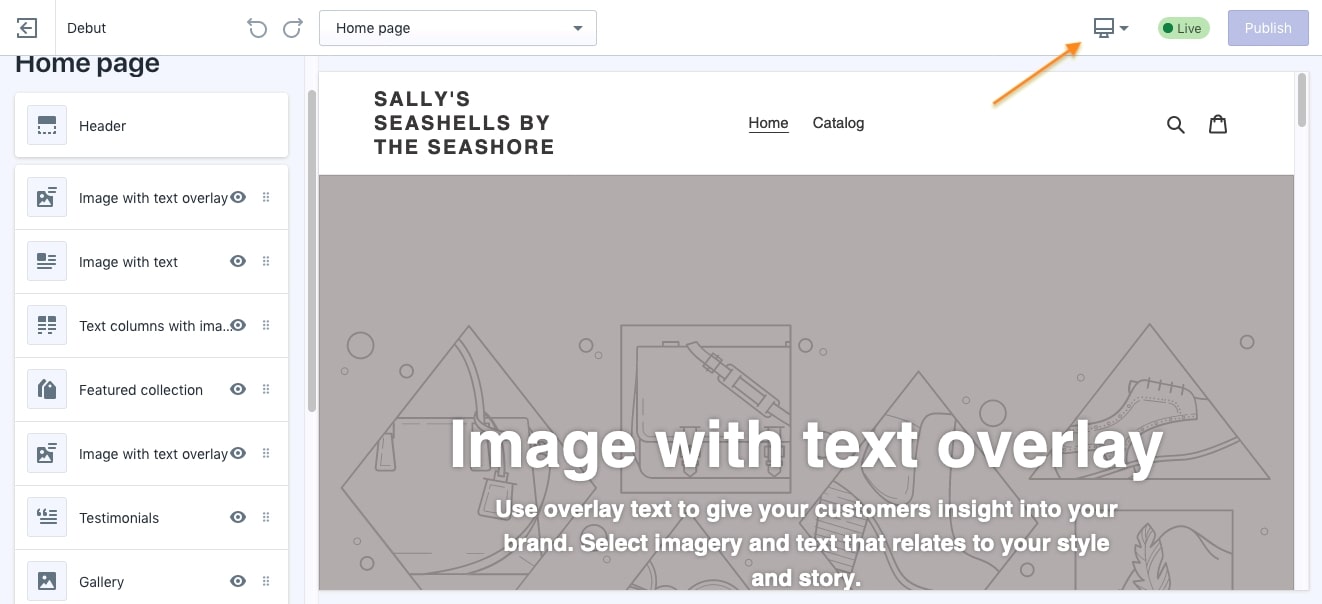
All the areas you can change are listed on the left of the screen, with a real-time preview of your Shopify website on the right. In the upper-right corner, there’s an icon where you can switch between the desktop and mobile versions of the preview, ensuring both look how you want them to.
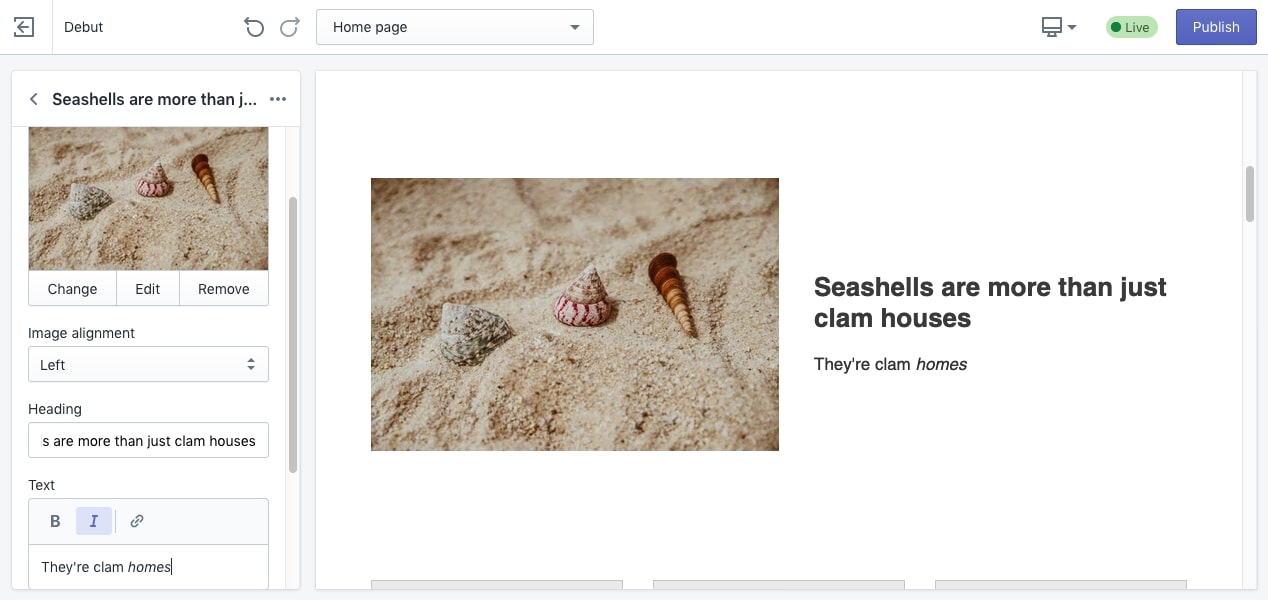
Just go through each entry on the left and enter your custom text or upload the images you want. You’ll see clearly labelled fields for each area, along with other options like text alignment. Again, it comes in handy to prefer these assets beforehand. Although they offer free images, you want to keep the shared assets you use to a minimum in order to mitigate the “generic” look of your Shopify website.
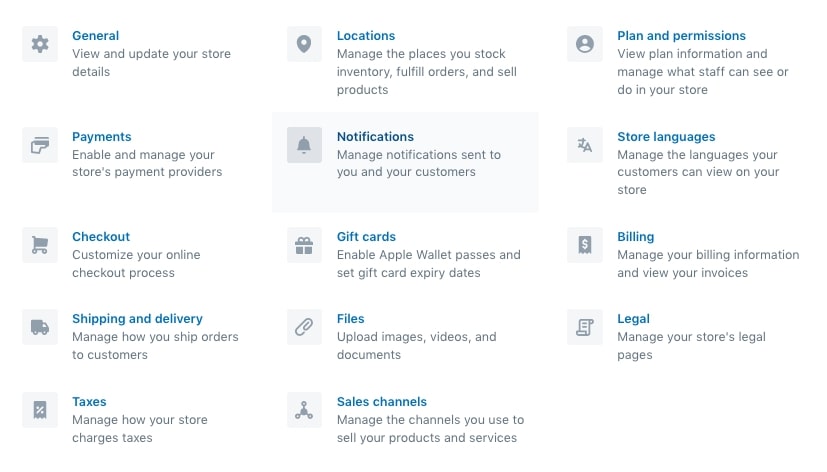
Before you start populating your site with your products—our next step—there’s also more customization options in the Settings section at the bottom of the left menu. These are the more technical details of your business, often the behind-the-scene areas, including:
- General preferences (currency, location, business address, etc.)
- Payment providers
- Shipping and delivery
- Store languages
- Billing
- Taxes
… and many more areas. Although many of these options are minor choices, they can have a major impact on your business, especially payment and shipping. Be sure to take the time to go through each one and customize them based on your personal site goals.
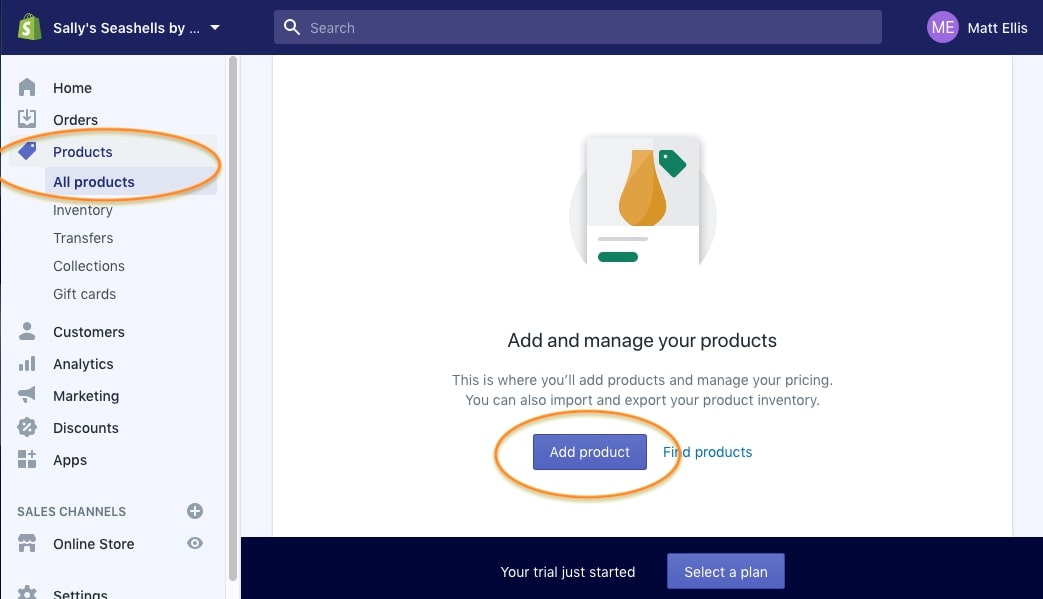
7. Add your products
Now you can add all of your products into your Shopify website, but depending on how many products you offer, this might now be good news. Each product must be entered individually, one-by-one, so this step could take awhile.
To enter a new product, go to the Products section of the left menu, and then click on the Add product button.
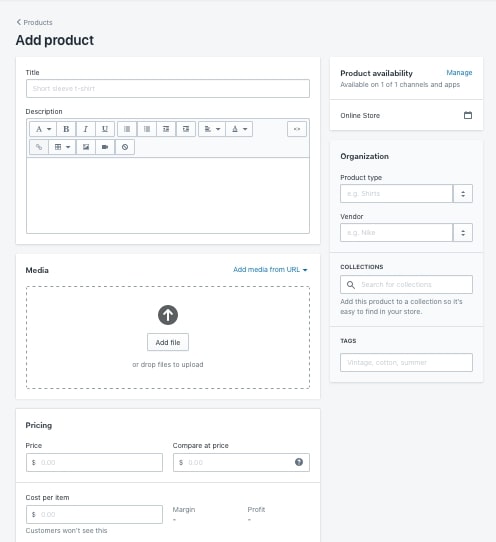
The next step is simply filling in the template. You have fields for everything you need:
- Title
- Description
- Availability
- Organization (product type and brand name)
- Media
- Pricing (including a separate section for “Compare at price”)
- SKU and Barcode
- Quantity
- Shipping information (including weight, shipment origin and HS code)
- Variants (like Size or Color)
- SEO tool
- Tags
You also have the option here to place products in custom Collections, which are groupings of items you can use for a variety of different sales methods. Collections can be made manually or automatically.
8. Buy and set your domain name
There’s tons of areas you can customize before you launch, but there’s one that’s practically a necessity we haven’t talked about yet: your domain.
Your URL, or domain name, can be a powerful branding tool and help with recognition as long as you use an original one. While Shopify by default provides you with one of their domains (~.myshopify.com), if you’re serious about your ecommerce business, we recommend investing in your own domain name. Luckily, that’s a service they provide as well.
To buy and set your Shopify website domain, go to the Sales Channel > Online Store > Domain in the left menu. You can type in the URL you’re looking for, and they’ll search to see if it’s available and how much it will cost. They’ll also display alternate options (.net, .org, etc.) in case there’s too much competition.
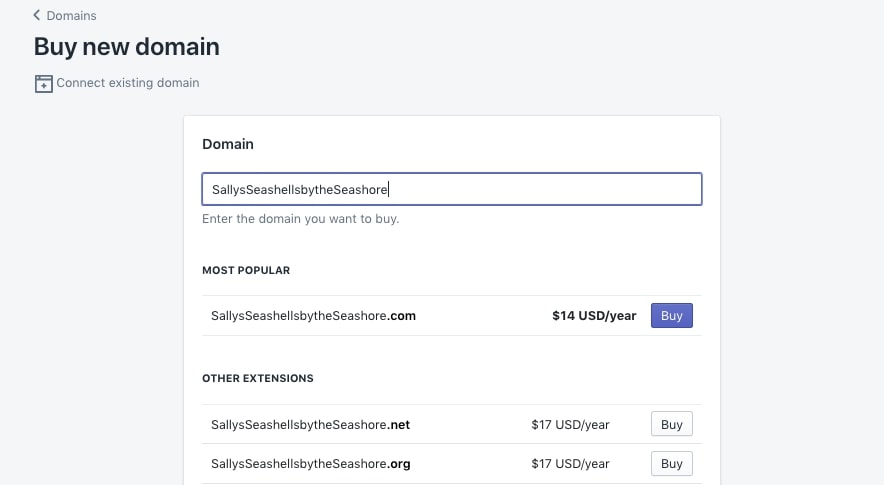
You can both buy and apply your new domain in this section, so this step might not take that long… unless your top choices are fiercely competitive.
9. Launch and sell!
With your domain name in place, everything is ready for launch! And by “everything,” we mean the bare minimum!!
Let’s be clear: your work is far from over. Even if you followed this guide to the letter and went through every customizable section, there’s still all the external areas that are crucial to ecommerce success, like marketing, customer profiling and promotions. Many of these areas you can’t even start until you’ve made your first sale.
Shopify makes these areas as easy as possible, allowing you to connect your campaigns to your store and offer a variety of different promotion types. And if Shopify’s native features aren’t enough, their app store adds even more options. You’ll get a clearer idea of what you need once you begin selling, but at this point you can still look around to see exactly what you can do in the future.
However, one thing you want to do as soon as possible is test out a sample order. By that we mean, order a product from your store just like a normal customer and see if any problems arise. If there’s a mistake or something was overlooked, it’s better if you catch it instead of your very first customer!
Is Shopify too easy?
Shopify is a particular niche for site builders—it’s designed to be easy and user-friendly, at the cost of customization options. While that’s the perfect fit for a large number of online retailers, it’s not for everyone.
If you want more customization options and don’t mind putting more effort into building your site, check out our comparison guide of the 10 best ecommerce platforms. We go through the most popular choices for building an online store, explaining what makes them different and whom each is recommended for.
About the Author!
Matt Ellis is a freelance content writer, specializing in web design and ecommerce. For over a decade he’s been sharing his industry knowledge through ebooks, website copy, and blog articles just like this one. You can learn more about his career and writing services at https://www.mattelliscontentwriter.com/